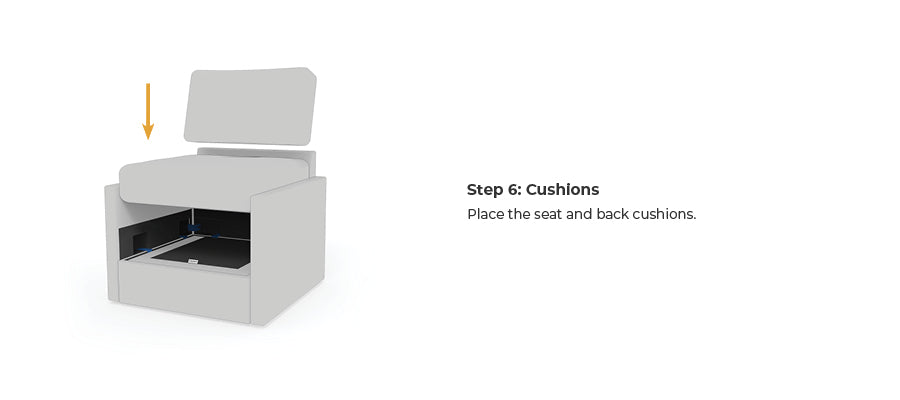
build out for chair

Step 3: Arms
Attach C-Clips to the white discs on the sides of the seat base with the rails. Line up the holes of the C-Clip and white disc and fasten securely with a thumbscrew. Place J-Brackets™ into the white indicators in the arms and slide the arms into the sides of the seat base. Align the front of the arm with the front of the seat base so that they’re even.
Note: The arm has a slit in the fabric on the bottom to allow the C-Clip to hold it.

Step 4: Secure the Arms
Attach the C-Clip to the white discs in each corner to connect the back to the arm. Line up the holes of the C-Clip and white disc and fasten securely with a thumbscrew.

Step 5: Blue Steel Spring™ Suspension
Set the suspension into the seat base. The “Front” tag should be facing the front of the chair.


